Inspection
Complementing the calibrated verniers and micrometres we have the following technologies in-house and for highly specialist inspection, we have Taylor Hobson and Loughborough University a short drive away.
Profiles |
||
 |
|
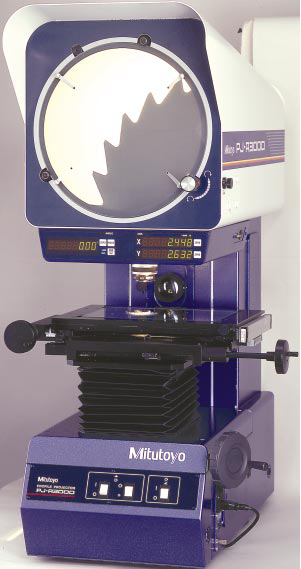
The Mitutoyo PJ-3000 profile projector gives very accurate digital linear, angular and surfaced profiles for smaller parts measurement. |
Metallography |
||||
|
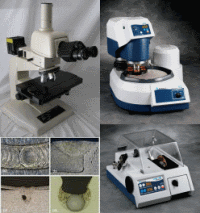
Microkerf Ltd offers a complete solution to all metallographic preparation requirements. Our equipment allows users to reveal a true representation of the microstructure of their materials for microscopic analysis. The Nikon microscope provides digital pictures of weld section and surfaces, establishing weld penetration depths and levels of porosity which can be archived as a JPEG. Having this facility in-house allows us to get information quickly and to make improvements to our process parameters efficiency. The IsoMet 1000 Precision saw is the first step to quality sample preparation that will not introduce structural damage or defects to the area under analysis. After sectioning the specimen, embedding is usually the next step. This is done for a variety of reasons. Embedding enables a high quality of preparation, as edges are protected, porous and friable materials are supported, and the components can be handled more easily. In addition, the specimen can be handled in a safe manner. The Buehler Beta grinder-polisher with Vector power head produces the sample for subsequent etching and image capture. |
 |
|||
Flow and hermetic testing |
||||
 |
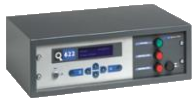
Small laser drilled holes are routinely measured using pin gauges and the shadow graph but both methods have limitations as holes have a trumpet - shaped section profile. Alternatively, when the application is flow based e.g. a nozzle, we can inspect the flow after laser drilling using a Uson Qualitek 622. | |||
 |
It is typical for laser welded packages to be leak tight to a predetermined value. The hermetic values can be checked using our BOC Spectron 600T leak detector. | |||